
Working with dry-mix mortar, you have probably run into these problems: putty cracks after application, tile adhesive does not hold, plastering mortar slumps on the wall. These issues are not necessarily because the HPMC is bad. More often, it is the formulation that is off, or you picked the wrong grade.
This article approaches HPMC from a completely different angle. Instead of talking about how it works chemically, we focus on practical formulation reference, how to pick the right viscosity, how to fix common field problems, and what adjustments to make in summer vs. winter.
1. What Does HPMC Actually Do in Dry-Mix Mortar
2. Formulation Reference for 5 Mortar Systems
3. How to Pick the Right Viscosity Grade
4. How to Determine the Right Dosage
5. How HPMC Works with Other Additives
6. Field Troubleshooting Guide
7. Seasonal Formulation Adjustments
8. Purchasing Tips: How to Avoid Getting Ripped Off
9. Frequently Asked Questions
In dry-mix mortar, HPMC does four jobs at the same time. Knowing which one matters most for your application helps you pick the right grade.
Prevents the base layer from sucking water out of the mortar too fast. Also slows down surface evaporation. Gives cement enough time to hydrate properly, which means better strength development. In hot weather, water retention is the single most important factor.
Increases mortar viscosity and consistency. Improves fullness and sag resistance during application. Also helps with anti-sag performance for tile adhesive.
Makes mortar feel smoother and more buttery during troweling. Improves efficiency and reduces worker fatigue. For machine-applied mortar, it helps with pumpability and flow.
HPMC has natural air-entraining properties. Introduces tiny uniform air bubbles that improve workability and frost resistance. But too much air entrainment reduces compressive strength, so you need to find the balance.
The following formulations are starting points for reference. Actual formulations need to be adjusted based on local raw materials and climate conditions.
| Ingredient | Dosage (kg/ton) | Notes |
|---|---|---|
| Cement (42.5R) | 200-280 | Ordinary Portland cement is fine |
| Calcium hydroxide | 50-100 | Improves whiteness and workability |
| Quartz sand (80-120 mesh) | 600-700 | Silica content above 95% |
| HPMC | 2.0-4.0 | Viscosity: 40,000-100,000 mPa.s |
Key points: Interior putty does not need high cement content. Do not overdo the HPMC or it will be too sticky during troweling. If it cracks, the problem is usually the cement dosage or sand gradation, not the HPMC.
| Ingredient | Dosage (kg/ton) | Notes |
|---|---|---|
| Cement (42.5R) | 300-400 | Higher than interior for durability |
| Quartz sand (graded) | 550-650 | Multiple particle sizes for better packing |
| RDP | 10-20 | Required for flexibility and crack resistance |
| HPMC | 3.0-5.0 | Viscosity: 100,000-150,000 mPa.s |
| Wood fiber | 1.0-3.0 | Anti-crack reinforcement |
Key points: Exterior putty must include RDP for flexibility. HPMC viscosity should be higher than interior putty for better water retention under outdoor conditions. Wood fiber helps control shrinkage cracking.
| Ingredient | Dosage (kg/ton) | Notes |
|---|---|---|
| Cement (42.5R) | 350-450 | Ordinary Portland cement |
| Quartz sand (graded) | 500-600 | 0.1-0.5mm range, well graded |
| RDP | 10-25 | More for large-format tiles |
| HPMC | 2.0-4.0 | Viscosity: 30,000-100,000 mPa.s |
| Wood fiber | 0.5-2.0 | Anti-sag |
Key points: Tile adhesive needs good open time (at least 20 minutes). HPMC viscosity should not be too high or it becomes hard to spread. RDP is essential for bonding strength, especially for large tiles and floor tiles.
| Ingredient | Dosage (kg/ton) | Notes |
|---|---|---|
| Cement (42.5R) | 300-400 | Ordinary Portland cement |
| EPS particles | 4-8 m3 | Particle size 2-5mm |
| RDP | 15-30 | High dosage for adhesion |
| HPMC | 3.0-6.0 | Viscosity: 10,000-50,000 mPa.s |
| Wood fiber | 2.0-4.0 | Anti-crack reinforcement |
Key points: Insulation mortar needs high HPMC dosage because EPS particles absorb water. Viscosity should be moderate for good coating on EPS surfaces. RDP dosage must be sufficient for bonding to the insulation board.
| Ingredient | Dosage (kg/ton) | Notes |
|---|---|---|
| Cement (42.5R) | 100-200 | Or cement + lime compound |
| Manufactured sand | 750-850 | Well graded, 0-3mm |
| HPMC | 0.5-1.5 | Viscosity: 50,000-150,000 mPa.s |
| Air-entraining agent | 0.01-0.05 | Optional, for workability |
Key points: Plastering mortar does not need much HPMC. The key is workability and water retention for thick-layer application. Cement content is relatively low because this is typically a large-area application and cost matters.
Core Principle: Viscosity determines water retention and thickening power. But higher viscosity means harder to dissolve and stickier application feel. You need to find the balance, not just go for the highest number.
| Application | Recommended Viscosity (mPa.s) | Reasoning |
|---|---|---|
| Interior putty (manual) | 40,000 - 100,000 | Moderate retention, easy troweling |
| Exterior putty | 100,000 - 150,000 | Higher retention for outdoor conditions |
| Tile adhesive (thin-bed) | 30,000 - 100,000 | Good open time, not too sticky |
| Tile adhesive (thick-bed) | 50,000 - 150,000 | Anti-sag, better water retention |
| Insulation mortar | 10,000 - 50,000 | Moderate, good EPS coating |
| Self-leveling | 10,000 - 30,000 | Low viscosity, no impact on flow |
| Plastering mortar | 50,000 - 150,000 | Good retention for thick layers |
"Higher viscosity is always better" - Wrong. Too high viscosity makes mixing difficult, creates gel lumps, and makes the mortar too sticky. For machine-applied mortar, high viscosity can clog the pump.
"One grade fits everything" - Also wrong. Different applications have very different requirements. Some manufacturers sell a single 100,000 mPa.s grade for everything. It works, but it is not optimized.
Base layer absorption rate: High-absorption bases (aerated concrete, brick) need more HPMC
Temperature: Summer needs more, winter needs less
Wind: Outdoor windy conditions need more
Sand fineness: Too much fine sand increases water demand, need more HPMC
Cement content: Higher cement content needs more water, may need more HPMC
Do not guess the dosage. Do a simple test:
Prepare 3 batches with HPMC at low, medium, and high dosage (e.g., 2, 3, 4 kg/ton)
Apply on a test panel and observe workability
After 24 hours, check for cracking, hollow drums, and surface quality
After 7 days, test bonding strength
Pick the lowest dosage that meets performance requirements (saves cost)
| Application | Typical Dosage Range (kg/ton) |
|---|---|
| Interior putty | 2.0 - 4.0 |
| Exterior putty | 3.0 - 5.0 |
| Tile adhesive | 2.0 - 4.0 |
| Insulation mortar | 3.0 - 6.0 |
| Plastering mortar | 0.5 - 1.5 |
| Self-leveling | 0.5 - 2.0 |
HPMC does not work alone. Here are the most important combinations.
The most common combination. HPMC handles water retention and workability. RDP handles adhesion and flexibility. Together they produce mortar that is easy to apply, sticks well, and will not crack. Typical ratio: HPMC 3 kg/ton + RDP 15 kg/ton for tile adhesive.
Wood fiber provides anti-crack reinforcement. HPMC provides water retention and workability. Together they are the standard solution for exterior wall putty and insulation mortar.
Starch ether improves anti-sag performance. Combined with HPMC water retention, it is the standard system for thick-layer tile adhesive. Typical addition: starch ether 1-3 kg/ton.
HPMC itself entrains some air. If you need more for workability or frost resistance, add a controlled amount of air-entraining agent. But watch out: too much air reduces strength.
Symptoms: Fine cracks or map-pattern cracks appear on putty surface after application.
Root cause analysis:
Cement dosage too high, shrinkage is large
Sand too fine, too much powder content
Applied too thick in one pass
Dried too fast (hot wind, direct sun)
Base layer not pre-wetted, absorbs water too fast
Solution:
Reduce cement dosage by 50-100 kg/ton
Adjust sand gradation, reduce fine sand below 0.075mm to below 5%
Apply in multiple thin layers, 0.5-1mm per coat
Increase HPMC dosage by 0.5-1 kg/ton
Pre-wet the base layer before application
Add 1-3 kg/ton wood fiber
Symptoms: Hollow sound when tapping tiles. Tiles fall off after months or years.
Root cause analysis:
RDP dosage insufficient, bonding strength low
Open time too short, adhesive skins over before tile is placed
Base layer dusty or not cleaned
Tile not soaked (for porous tiles)
Applied too thin, not enough coverage
Solution:
Increase RDP dosage by 5-10 kg/ton
Increase HPMC dosage to extend open time to at least 20 minutes
Clean base layer, remove dust and loose particles
Soak porous tiles in water for 10 minutes before laying
Ensure at least 80% adhesive coverage on the tile back
Sets too fast:
Cement early strength too high, or C3A content high
Hot weather, high temperature
Solution: Use retarder (citric acid 0.05-0.1 kg/ton or sodium gluconate 0.05-0.15 kg/ton). Increase HPMC dosage. Mix with cool water.
Sets too slow:
Retarder dosage too high
Cement quality problem (expired or moisture damaged)
Cold weather
Solution: Reduce retarder. Check cement freshness. In winter, use early-strength cement and reduce HPMC slightly.
Symptoms: Mortar sticks to trowel during application. Hard to spread smooth.
Root cause:
HPMC dosage too high
HPMC viscosity too high for this application
Too much water in the mix
Solution:
Reduce HPMC dosage by 0.5-1 kg/ton
Switch to a lower viscosity grade
Reduce water addition by 5-10 kg/ton
Symptoms: Different patches of putty show different colors after drying.
Root cause:
Base layer absorption rate inconsistent, some areas dry faster
Cement in different batches has different whiteness
Uneven application thickness
Partial rain wetting after application
Solution:
Pre-wet the base layer evenly
Use cement from the same batch for a single wall face
Control application thickness consistently
Protect freshly applied putty from rain
Increase HPMC dosage by 20-30% over standard
Consider switching to higher viscosity grade
Add retarder: citric acid 0.05-0.1% or sodium gluconate 0.05-0.15%
Mix with cool water if possible
Apply in early morning or late afternoon, avoid midday sun
Pre-wet the base layer thoroughly
Reduce HPMC dosage by 10-15% (low temp slows hydration, too much retention delays setting)
Use early-strength cement or increase cement dosage by 50-100 kg/ton
Add anti-freeze agent (calcium formate 1-3% or sodium nitrite 0.5-1%)
Mix with warm water (below 40 degrees C, never use boiling water as it gelatinizes HPMC)
Do not apply below minus 5 degrees C without proper protection
Increase HPMC dosage by 10-20% (high humidity slows drying)
Protect freshly applied mortar from rain
Check sand moisture content and reduce mixing water accordingly
Extend curing time expectations
False viscosity labeling: Label says 40,000 but actual is only 20,000 mPa.s. Check with Brookfield viscometer.
Excessive moisture: Standard requires below 5%. Some products are 8-10%, you are paying for water.
Mixed with starch: Cheap starch fills the bulk. Iodine test can detect this.
Particle size not meeting spec: Coarse particles do not dissolve properly, cause gel lumps in mortar.
Check packaging integrity and label information
Sample and test viscosity (Brookfield, 2% solution, 20 degrees C)
Check moisture content (should be below 5%)
Check mesh fineness (98% through 100 mesh)
Dissolution test: should dissolve completely within 15 minutes in cold water
Small-batch trial: make a small amount of mortar and test application feel
Store in dry, ventilated warehouse
Keep away from moisture and rain
Shelf life: typically 24 months when stored properly
Opened bags should be resealed and used first
We supply HPMC in multiple viscosity grades (40,000 to 200,000 mPa.s) with technical support for formulation optimization.
Professional Supplier: Shenyang Xingzhenghe Chemical Co., Ltd.
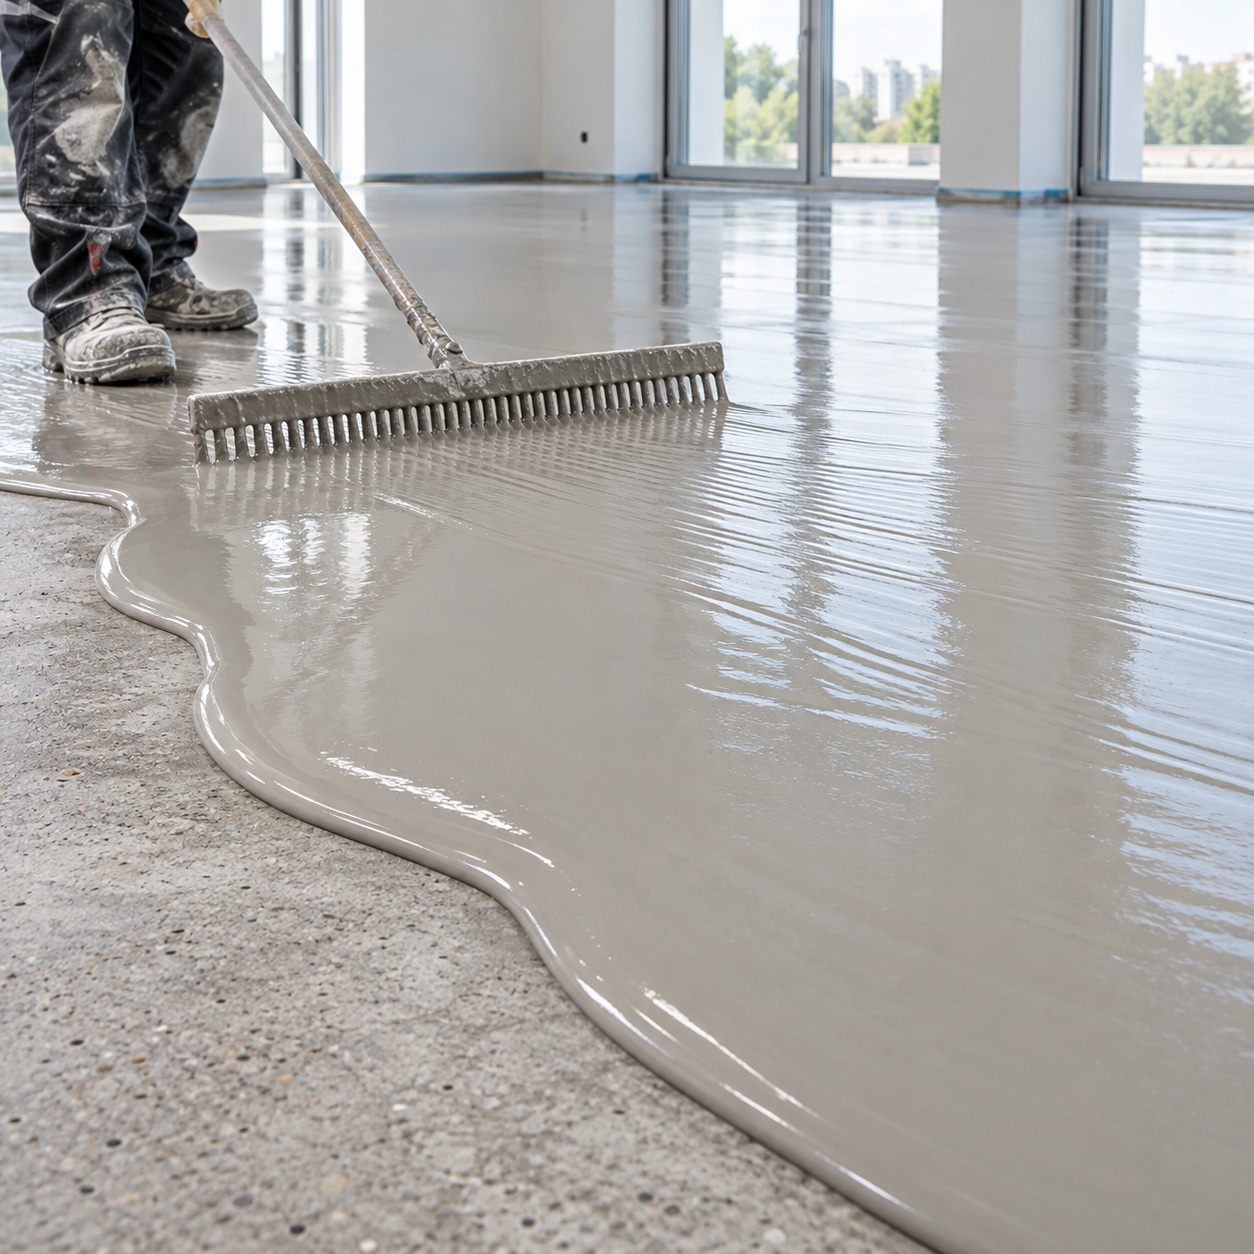 HPMC in Self-Leveling Mortar: Evaluating Flow, Stability and Surface Quality
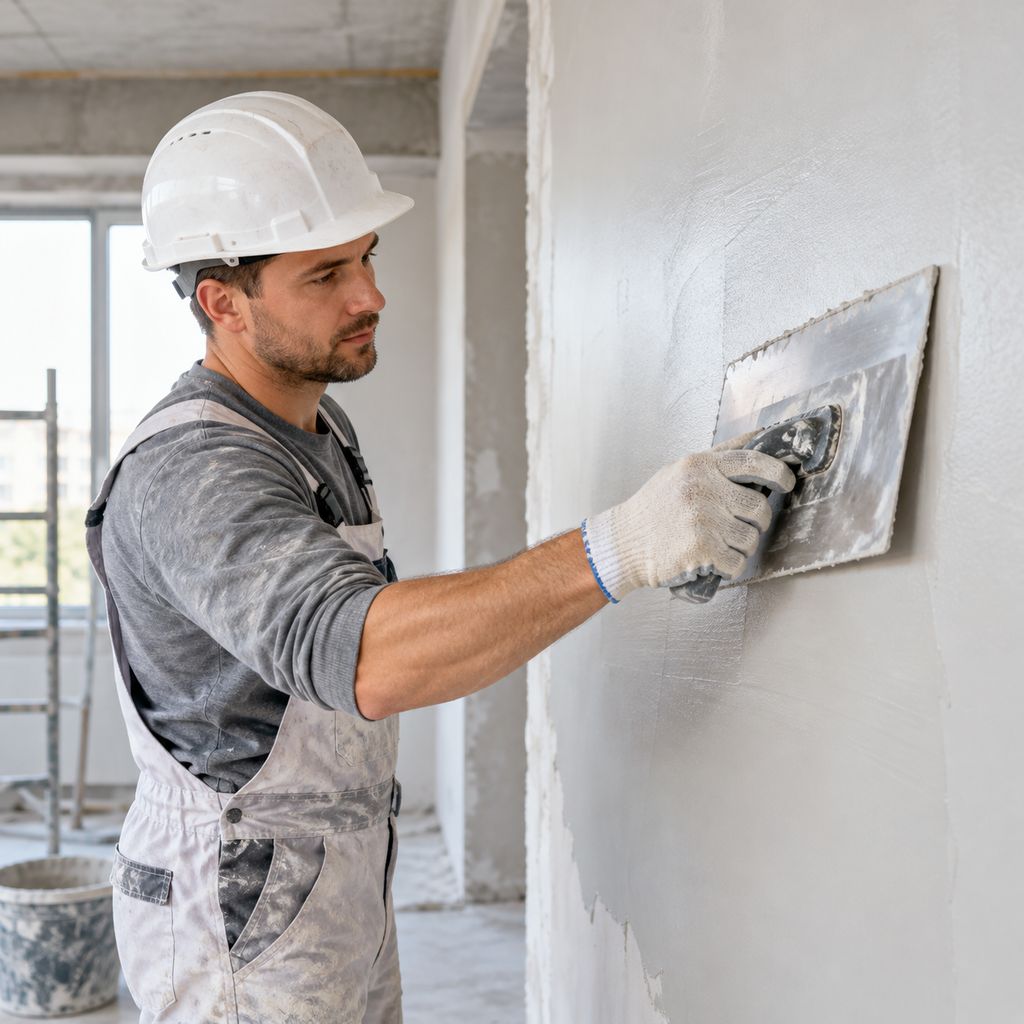 HPMC in Gypsum Plaster: How It Affects Workability, Water Retention and Surface Finish
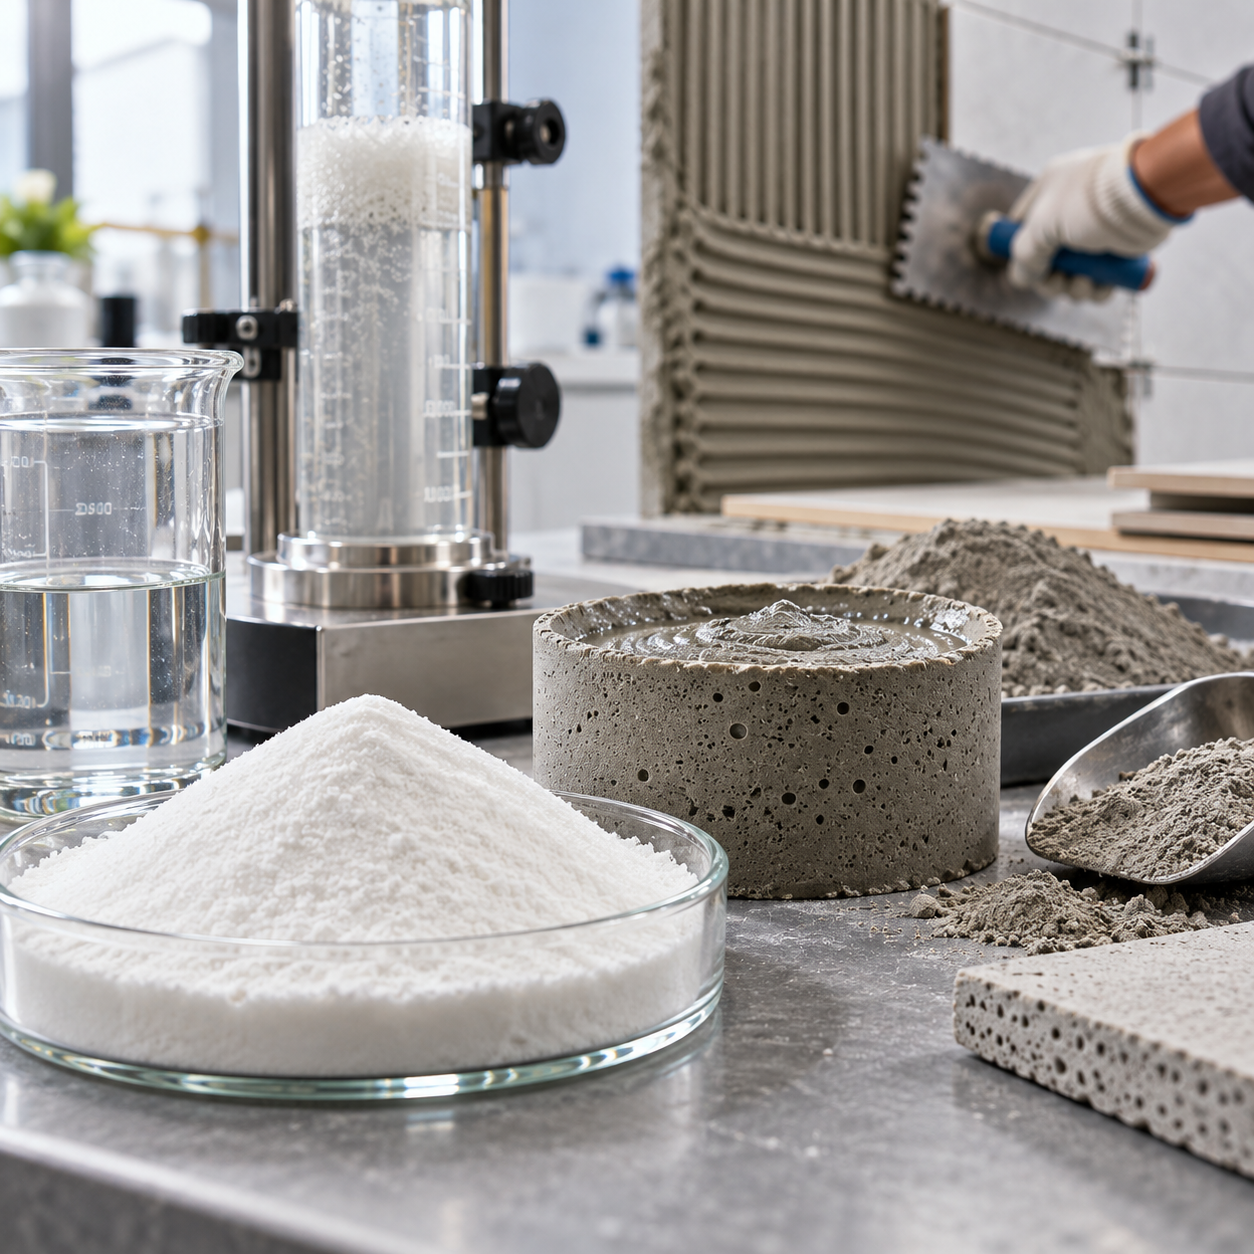 Why Does HPMC-Modified Mortar Contain Too Much Air? Causes, Testing and Formulation Troubleshooting
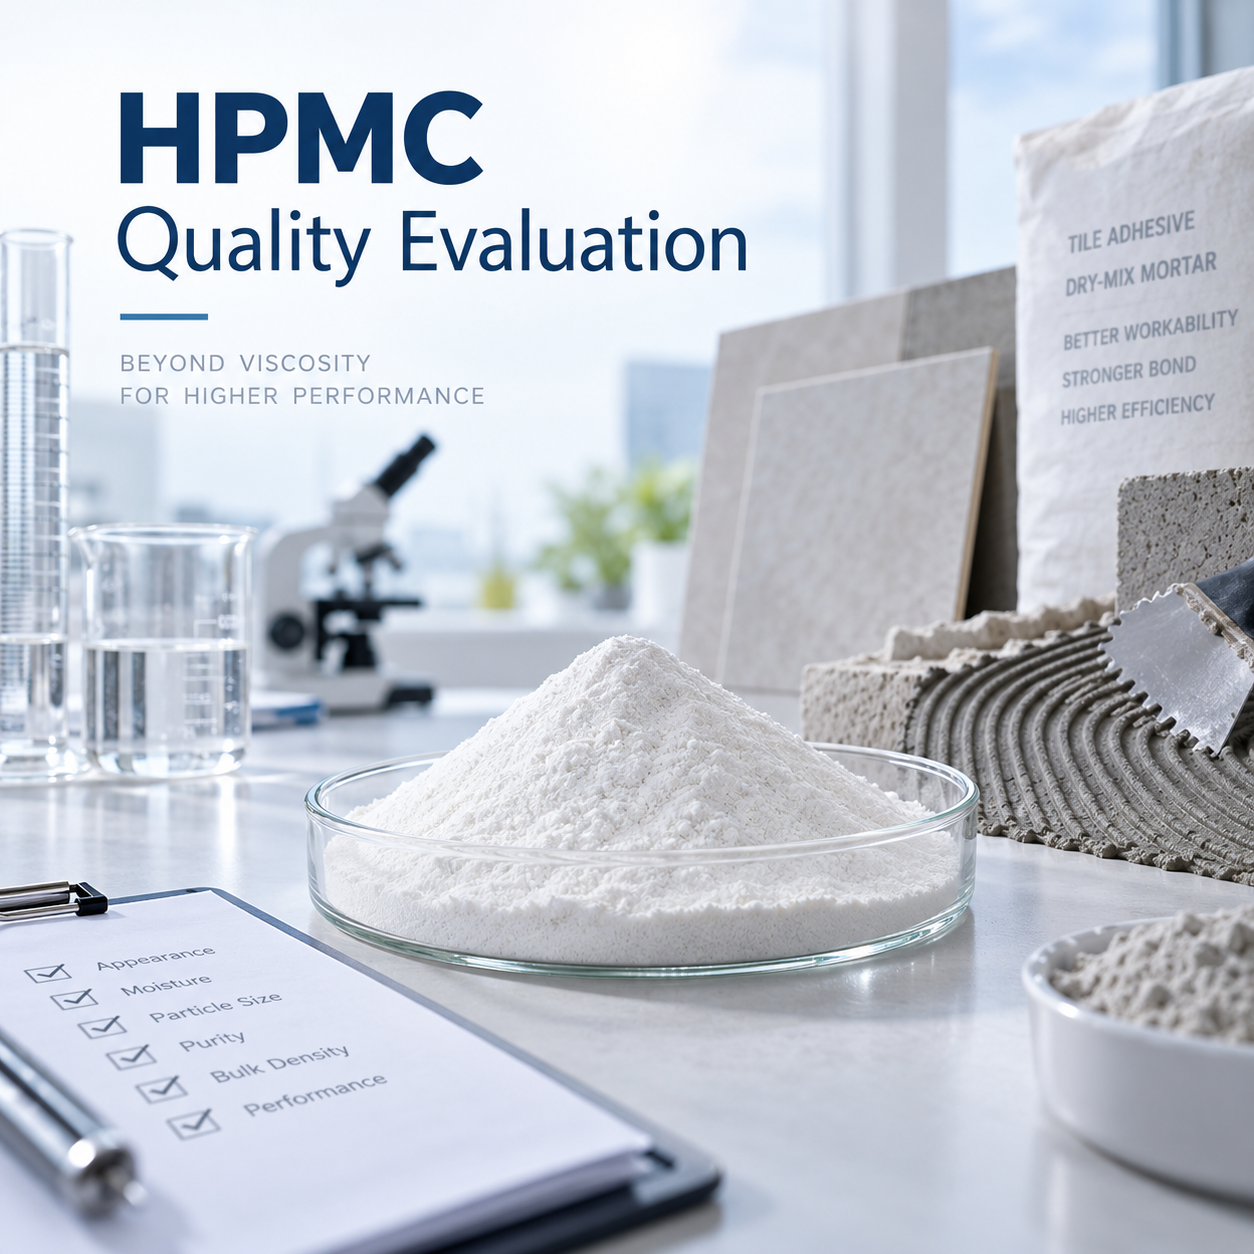 How to Evaluate HPMC Quality Beyond Viscosity? Key Parameters for Construction Grade HPMC Selection

